Microsoft announced that the ‘New Pricing Experience’ is now mandatory in Business Central
With Wave 1 2026 rolling out from April 2026, and Wave 2 2026 due to start its roll out in October 2026, the vast majority of Business Central users will have already transitioned to the New Pricing Experience.
What’s the Difference?
Old Pricing Experience
In the old pricing experience, your prices were stored in the Sales Price table
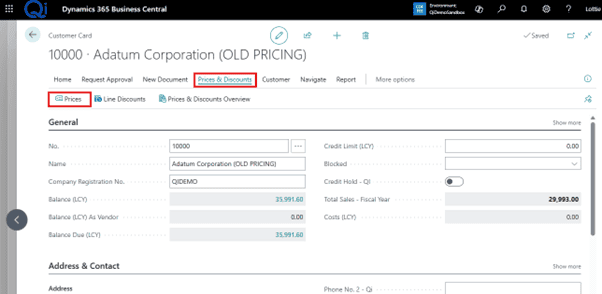
When you open a price list from a customer/vendor card, you would only see prices for that customer/vendor, because filters are automatically applied when the page opens
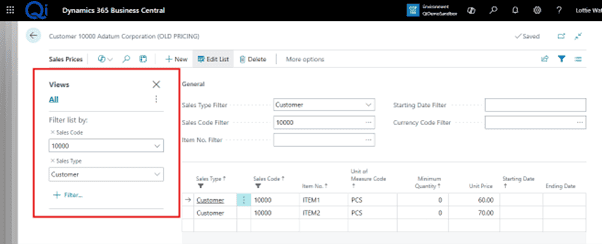
If I clear the filters, we can see all sales prices for all customers/customer discount groups etc, combined into one list.
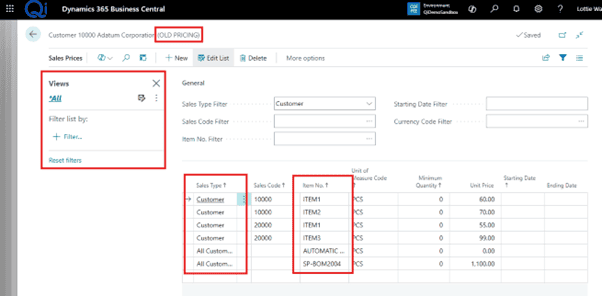
To summarise – in the old pricing experience, your prices are actually stored in one big price list, but when you open them from a customer card, filters are applied.
New Pricing Experience
When the new price experience is enabled, you will be able to create separate price lists based on individual customers, customer price groups and customer discount groups, etc. (the same is true for vendor prices).
For example, in the below screenshot I have separated price lists for individual customers (Adatum and Trey 2025), Customer Price Group DEALER, and Customer Discount Group 10%.
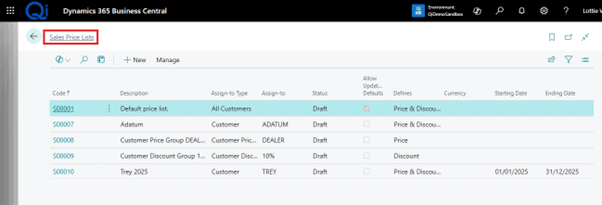
**IMPORTANT – when Microsoft apply the new pricing experience, all your current prices will be copied into one price list titled ‘DEFAULT’ (or something similar), as per price list S00001 in the above screenshot.
New Pricing Experience Functionalities
The purpose of the New Pricing Experience is to give you more control over price list changes.
Price list Increases
Let’s say that you need to increase your prices for a certain customer.
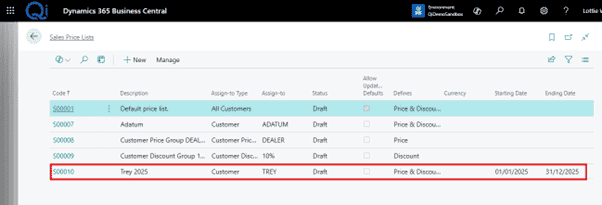
Here I have a price list that only applies to customer TREY, which is only for the year 2025. I am going to increase these prices by 5% for the year of 2026.
Option 1- Copy an old price list
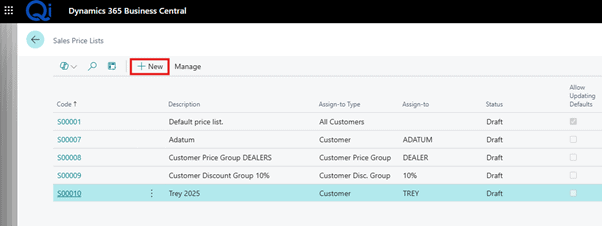
Create a ‘+New’ price list.
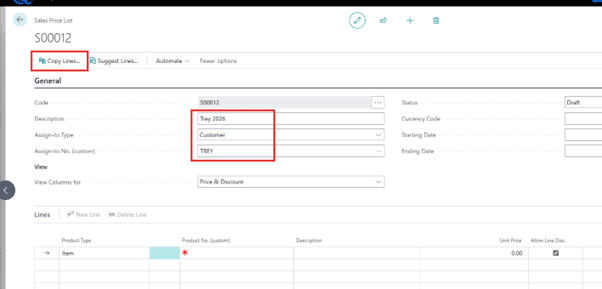
Give the price list a description, choose ‘customer’, then choose the customer code. Then click ‘Copy Lines’.
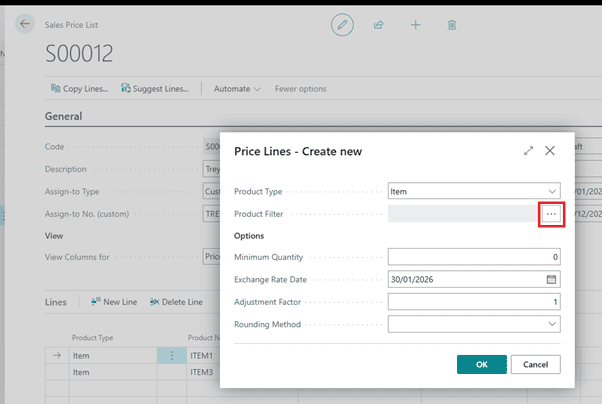
Use the three dots to choose the price list you want to copy from
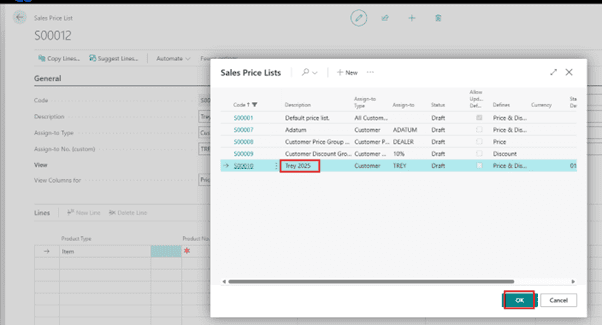
Choose the price list you want to copy (in my case, the 2025 price list for customer TREY).
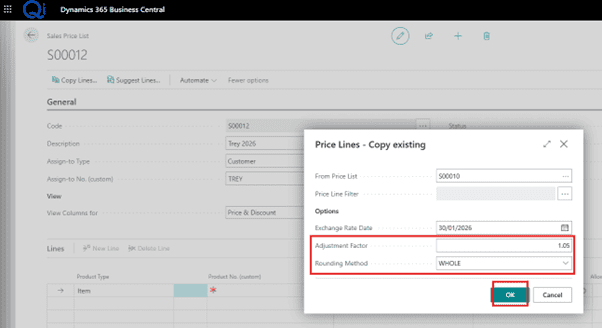
Enter your adjustment factor (in my case, 5%), and a rounding method. Then click ’OK’.
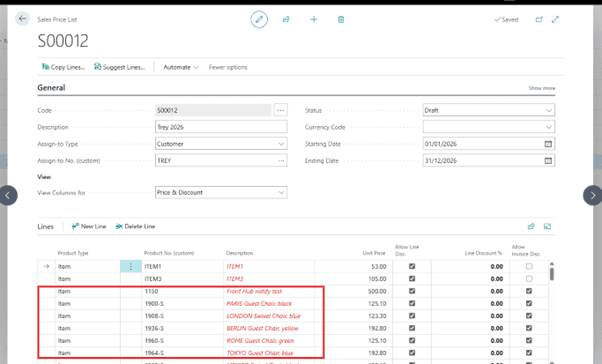
My prices have been copied from the old price list and increased by 5%. I then entered a starting & ending date of 2026.
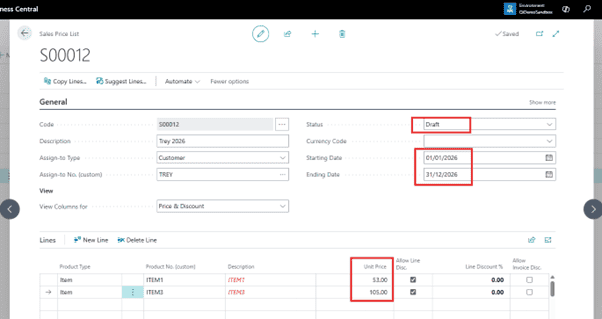
To start using the price list, change the ‘Status’ to ‘Active’ (if there are other prices for this customer for this item, the system will ask you to ‘Verify’).
Your price list is now active.
Option 2- Edit in Excel
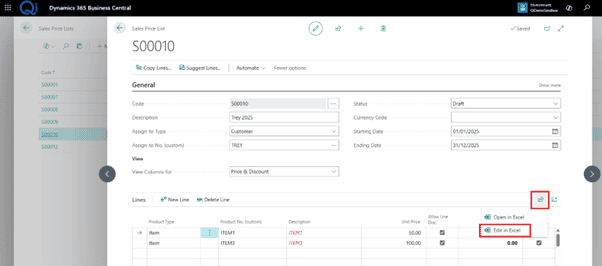
If you do not want to create a new price list and you would prefer to just edit the old one, either overtype the prices in Business Central, or use ‘Edit in Excel’ on the price list lines.
(Edit in Excel allows you to export lines to Excel and make the relevant changes, then ‘Publish’ them back into Business Central).
Choose Which Items To Include in a Price List
If you want to add certain items to a price list without having to go through them manually, you can use filters to add groups of items to price lists.
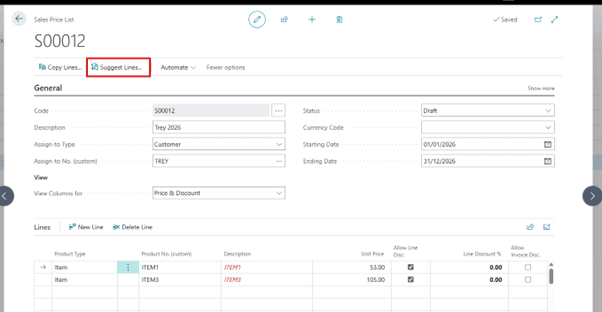
In your price list, click ‘Suggest Lines’.
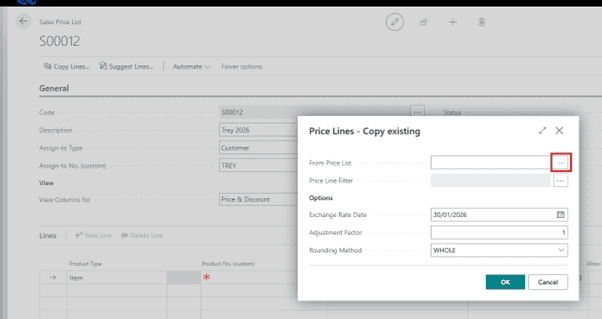
Click the three dots to add a filter –
In this example I am adding items that have the ‘Item Category Code’ of ‘CHAIR’, into my price list.
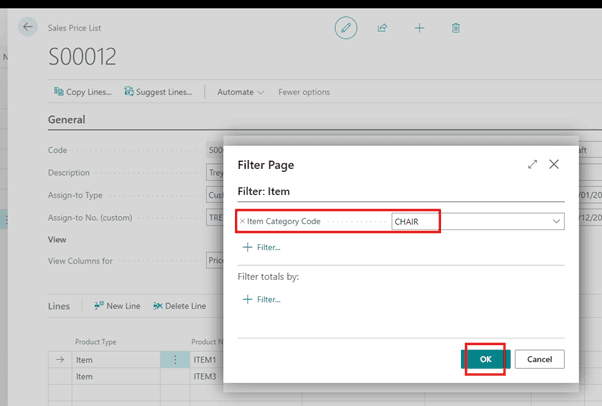
The items are now added, and I can update the prices as needed.
need advice on using pricing in business central?
Get in touch with a member if th Qi team today!