

Sometimes, you just want to know ‘How to’. Our series of function-based articles will be helpful.
This article breaks down what user screen personalisation is on Business Central but most importantly how it improves the user experience and makes your day to day screen time more streamlined.
What is Personalisation?
Personalisation is a tool in Business Central which allows you to add fields which are not, as standard within your Business Central ‘role centre’, showing on the page, hide fields which are on the page but not relevant to your role or move fields to a more logical location for your use.
When pages start to feel cluttered and you find yourself scrolling or searching for the same information every time you use them, the Business Central personalisation tool will help you optimise your view and reduce screen fatigue.
How to personalise in Business Central
Let’s get started!
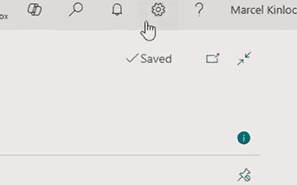
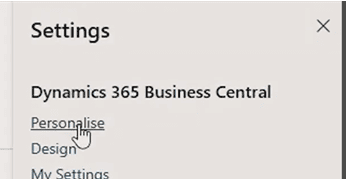
Click on the cogwheel icon or the setting button in thetop right of the screen, then press ‘personalisation’ and‘ +field’.

Personalising your pages is in your control!
Many Business Central users don’t realise that this is an option available to them. These changes do not need to be completed by an administrator. Follow the steps and screenshots below and you should be able to confidently make these changes yourself.
Hiding those fields you don’t need (reduce your screen clutter!)
Use Case Example
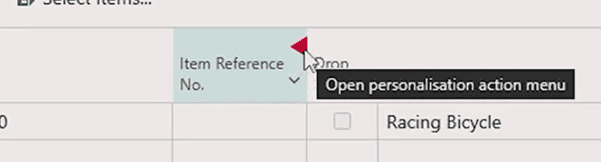
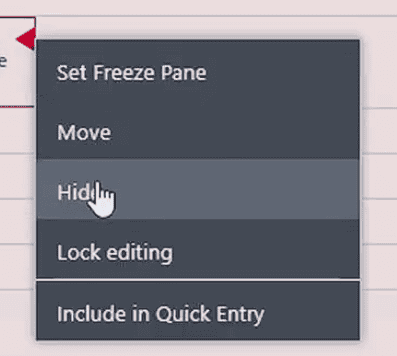
If you are working on purchase orders Business Central natively, will show you fields you may not actually need. To make the page, easier to navigate and work with, based on the tasks you need to complete- simply hide the fields that you do not use.
Hiding fields that you do not commonly need in your day to day, reduces screen clutter and makes you view more streamlined, thus easier to work with.
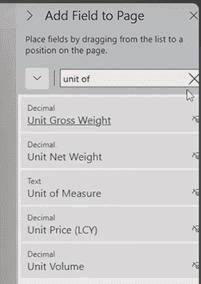
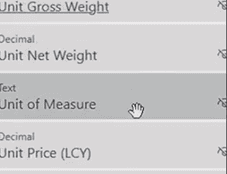
Adding fields to a page
On the flipside, if there are fields you think should be on the page but are not showing, we can use personalisation to add them. This is helpful if you regularly need to see specific information, but the default Business Central doesn’t show it, and it’s a very simple change to make. (Business Central is ideal for those users, that wear ‘several hats!’)
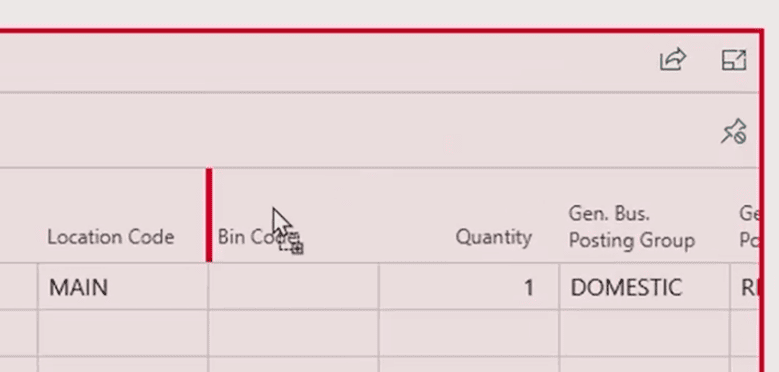
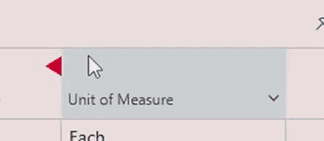
When adding a field, look out for the red line. This shows where the field will be placed on the page. Another useful user tip, is that existing fields can be moved by simply clicking and dragging them to the position of your choosing.
Showing all fields on a page
It’s worth keeping in mind that all fields on some pages (orders, for example), will be split up between header fields and line fields.
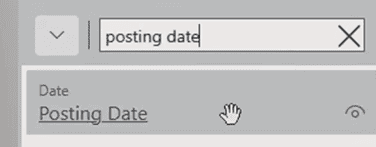
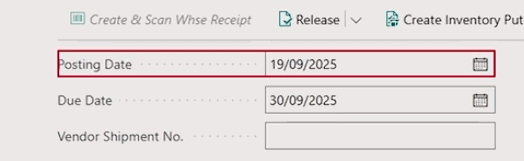
A helpful part of this tool is the option to show all fields whether it has been added or not yet added. One of the key reasons for using this option is if you are looking for a field but cannot see by just looking at your screen.
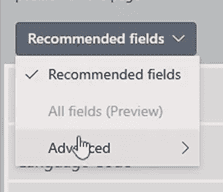
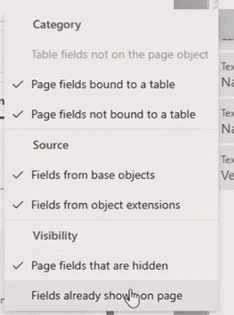
To do this, click on ‘recommended fields’, ‘advanced’ and then simply tick the box which says ‘fields already shown on page’. After this, search for the name that you are looking for, click on the box that appears and Business Central will then highlight that fields on the page.
Need a bit more support with Business Central?
We hope this ‘how to’ guide has helped you feel more confident using personalisation in Business Central and shown how small changes can make everyday tasks just that little bit easier
If you’ve tried personalising your pages and still feel unsure, or if you’re not quite getting the layout you need, you are not alone.
At Qi, our support team, provides its customers who use Business Central as its core system, Monday-Friday. From answering quick questions like this, to helping teams get more comfortable and confident with the system over time, through to solving more complex requirements – our team is here to help.
Start the conversation
If you feel your current Microsoft Dynamics 365 Business Central Partner just ‘doesn’t speak your language’ or you are struggling to get the most from Business Central get in touch Qi today. We are fully accredited with full specialisation certification, have years of experience and are here to help!